

A webform, web form, or HTML form on a web page allows a user to enter data that is sent to a server for processing.
Forms are one of the most important parts of the web. They can be used to enter data, collect data, retrieve search results from a search engine, or sign up to receive valuable information.
Forms are enclosed in the HTML <form> element. Inside the form element, several inputs can be used. These inputs are known as form controls.
In this blog, we will explore the HTML form element, various form controls it takes, and how to create submit button and reset button with which data can be submitted and reset respectively.
Basic HTML Form Syntax:
<form>
<!--Input of any type and textareas goes in here-->
</form>
HTML Form Input Types:
<input> tag is used to create interactive form controls in HTML in order to accept data from the user. It is a self closing tag i.e. it doesn't require an end tag. It is an inline element and has several attributes like type, name, placeholder, required etc. Each of them accept specific values only.
The name attribute specifies the unique identifier for that input within the form. The type attribute specifies the type of form input. The placeholder attribute helps the user understand the purpose of the input field before they type anything in. The required attribute specifies the browser that this input is required. Leaving it empty will show a warning.
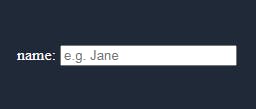
<form>
name:
<input type="text" name="first_name" placeholder="e.g. Jane" required />
</form>
The output will be:
Time to explore several input types!
Type Text
This type of input takes a value of “text”, so it creates a single line of text input.
<input type="text" placeholder="Enter your name" />
The output looks like:

Type Password
As the name implies, an input with a type of password creates a password. It is automatically invisible to the user unless it is manipulated by JavaScript.
<input type="passsword" placeholder="Enter password" />
Here's the output:

Type Number
This type of input lets the user insert numbers only.
<input type="number" placeholder="Enter a number" />
Here's the output:

Type Radio
An input field with its type attributes set to “radio” lets the user pick one out of numerous options.
<input type="radio" />
The output to the above code is:

Type Checkbox
An input field with its type attributes set to “checkbox” lets the user select multiple out of numerous options.
<input type="checkbox" />
Here's the output to above code:

Type File
This defines a field for file submission. When a user clicks it, they are prompted to insert the desired file type, which might be an image, PDF, document file, and so on.
<input type="file" />
The output is:

Type Color
Using this type, the user can submit their favorite color. Black (#000000) is the default value but can be overridden by setting the value to the desired color.
<input type="color" />
The output is as shown below:

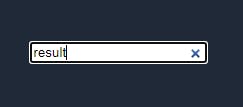
Type Search
Input with the type of search defines a text field just like an input type of text. Once the user starts typing, a cancel button appears.
<input type="search" />
Here's the output:
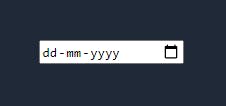
Type Date
An input field with its type attributes set to “date” lets the user pick a date.
<input type="date" />
The output is as follows:
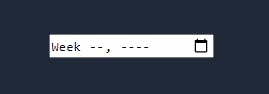
Type Week
The input type of week lets a user select a specific week.
<input type="week" />
The output to the above code is:
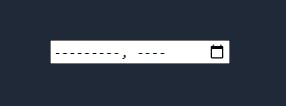
Type Month
The input with the type of month lets the user pick a month when clicked.
<input type="month" />
The output is:
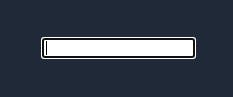
Type Textarea
It defines multiple lines of text input for a user to enter. It takes its own attributes such as cols - for the number of columns, and rows - for the number of rows.
<input type="textarea" />
Here's the output:
Type Button
An input with a type button creates a button, which can be manipulated by JavaScript's onClick event listener type. Here the value is empty by default, so it has to be specified.
<input type="button" value="Click to win!" />
The output is:

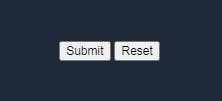
How to create Submit and reset button?
To create a submit button we can either use input type button or submit. While, we can use input type button with value specified as "reset" to create a reset button. The syntax is shown as below:
<input type="submit" value="Submit" />
<input type="button" value="Reset" />
The output is as follows:
How to label HTML Inputs?
Assigning labels to form controls is important. When they're properly connected to the input field through their for attribute and the input’s id attribute, it's easier for the user to use as they can just click the label itself to access the input.
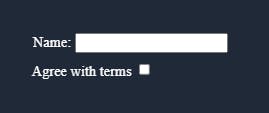
<label for="name">Name</label>
<input type="text" id="name" /> <br />
<label for="check">Agree with terms</label>
<input type="checkbox" id="check" />
Here's the output:
Reference:
Conclusion:
I hope this blog has helped you understand the basics of a form. Now you should have the knowledge you need to integrate forms into your websites so you can start collecting data.
Don’t forget to like, follow & share if you enjoyed it! Thank you for reading, and keep coding. :)